This post may contain affiliate links. If you click through a link and make a purchase, I may receive a commission at no additional cost to you. As an Amazon Associate, I earn from qualifying purchases. Read the full disclosure here.
Finally, figuring out a kinesiology taping technique that works for you, only to have your tape falling off within minutes or hours, is frustrating.
Why does tape seem to stick so well on some people and not on others?
I’ll give you a hint; it’s all in how you apply it.
As a physical therapist with a certification in Kinesio Taping, I’ll share all my pro tips for applying kinesiology tape so it stays on your skin.
Disclaimer: This content is for educational purposes and is not medical advice. Read the full disclaimer.
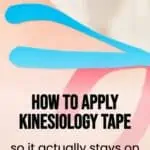
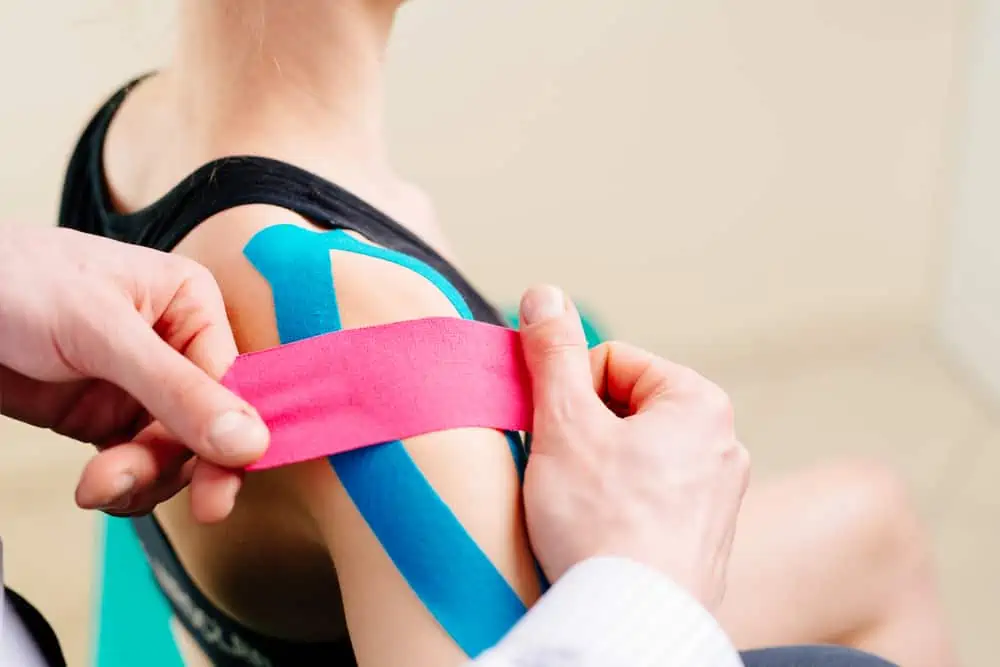
How to apply kinesiology tape
Use these expert tips to ensure a perfect application every time.
Start with good quality tape
Kinesiology tape is a style of therapeutic tape made with flexible elastic to allow the tape to move with you rather than restrict movement.
The material of most brands is constructed from a breathable fabric with a medical-grade adhesive to allow the tape to stay on for several days.
Not all kinesiology tape is created equal. Start with a good quality brand such as Kinesio Tex Tape, Rock Tape, KT Tape, or Theraband.
Most brands are latex-free; however, if this is a concern, be sure to double-check the ingredients.
You’ll also need a sharp pair of scissors to avoid fraying the ends of the tape.
Related read: Kinesiology Tape vs. Athletic Tape and How Does Kinesiology Tape Work?
Clean the skin really well
Skimping on this step is one of the two main reasons why tape starts to fall off early. Removing all dirt, oils, and lotions will ensure a fresh base for the tape.
I like to start with a good soap and water wash, then use alcohol prep pads and let the area dry completely.
This may add some time to your application, but it will ensure the area is clean and free of any oils that will affect the performance of your taping technique.
Consider trimming longer body hair
Long hair on arms or legs will not only get in the way of the tape adhering properly, but it will also make it ten times more painful to remove.
If taping for a few weeks, I recommend using a trimmer to shorten the hair length. It doesn’t have to be clean-shaven. Using a razor may introduce cuts or ingrown hairs, which affect the integrity of the skin and shouldn’t be taped over.
A #1 or #2 guard on a men’s clipper should do just fine to decrease the amount of hair and keep the skin clean and intact.
Consider using a tape adhesive spray
Tape adhesive spray, like Tuf Skin, makes the skin sticky for the tape to adhere better.
After cleaning and prepping the area, use a light spray of tape adherent and wait a few minutes for the spray to dry down to a sticky base.
You’ll know it’s ready when you gently tap the area with your fingertips, and they begin to feel sticky.
A word of caution with tape adherent spray, read the ingredients on the bottle and ensure you’re not allergic. Some people may have minor skin reactions to the combination of the spray and tape; discontinue spray if this is the case.
Those with extremely sensitive skin may want to skip this step.
For some people, spraying before taping will make the tape adhere very well, so if you need to remove it for any reason, it may be more challenging. (More details on removing tape are at the end of this article.)
Don’t tape over sweaty skin
Skin needs to be clean and dry prior to applying your tape. If you’ve just been exercising, wait until you stop sweating to apply tape.
If you try to apply tape while sweating, it won’t adhere well (even with spray) and will fall off quickly.
Measure your tape size correctly
This is important, so you don’t end up putting too much stretch on the tape in an attempt to cover more area. Of course, you can always trim it down before sticking the tape on.
Before removing the backing, measure along the area you’re going to tape. Most tape has a small amount of tension built in; for example, Kinesio tape has 10% stretch while it’s on the backing. Technically, using simply a paper-off tension will provide a small amount of stretch.
The amount of stretch when applying depends on your issue and technique. Remember, there is never any tension on the tape’s ends (also called tails or anchors).
One thing I like about Theraband brand tape is that there are stretch markers on the tape that correlate with a certain percentage of stretch. These markers make it easier for new tapers to judge how much to pull.
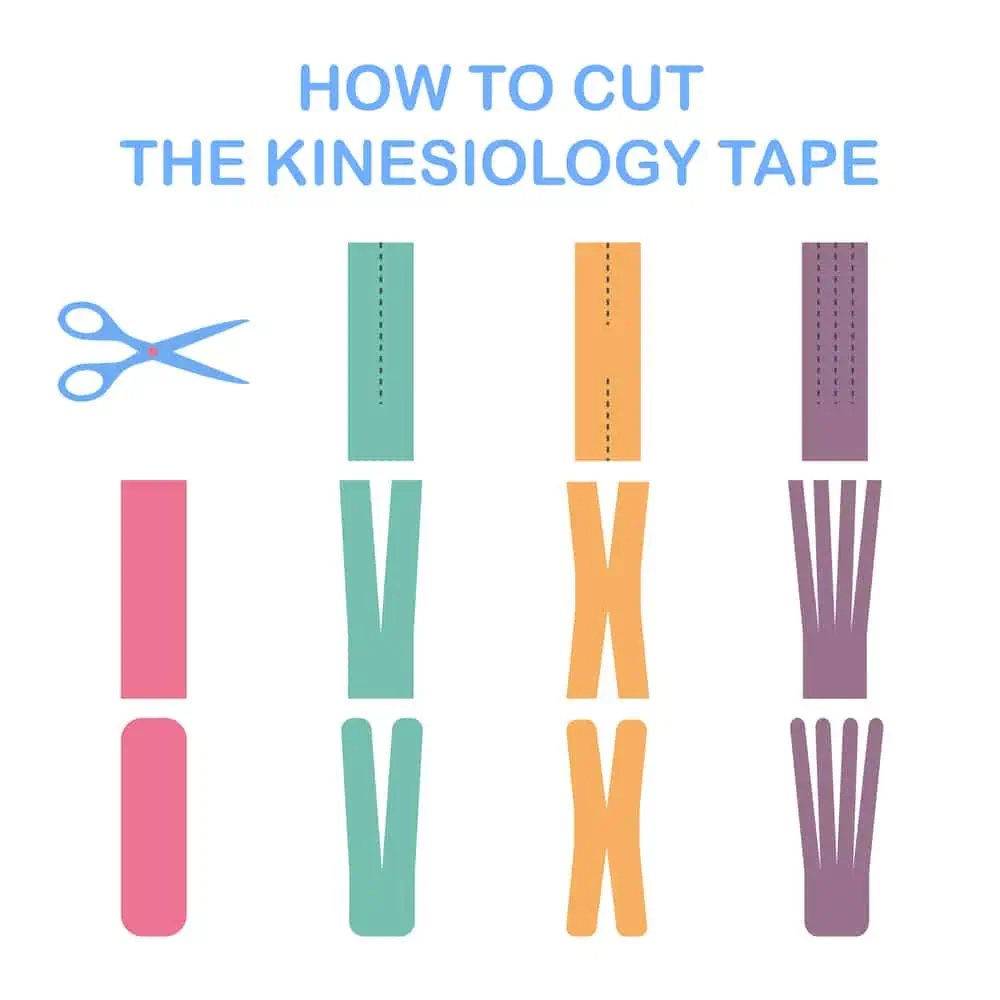
Round the edges of the tape
Before applying the tape, use a pair of scissors to round the edges to prevent the tape from lifting.
Don’t put any tension on the beginning or end of the tape
Incorrect application is another big reason why tape doesn’t stay on.
There should be no tension on the first or last 1-1.5” tape. This area is sometimes called the tails or anchor, depending on the brand.
No tape tension in this area creates a strong base and helps prevent the ends from peeling.
Try not to touch the adhesive side with your fingers
Gently peel the paper from the tape without touching the adhesive side with your fingers.
Oils from your fingers can reduce the adherence of the tape.
Don’t pull as much as you think
The amount of stretch depends on why you’re taping and your technique.
Some reasons for using kinesiology tape are:
- Muscle activation to improve strength
- Improve proprioceptive input
- Re-educate muscles for healthy movement patterns
- Pain relief
- Scar management
- Improve circulation
- Decrease swelling
- Decrease bruising
- Improve athletic performance
Each of these reasons has a different technique and optimal amount of tape tension.
- Generally, for more acute conditions, especially those that include swelling, less than 25% stretch is ideal.
- Up to 25% stretch is also a good range for things like improving proprioceptive feedback to an area or reducing muscle tone.
- Up to 50% is mostly for facilitating muscle activation and strength.
- Over 50% stretch should be reserved for limiting joint range of motion or scar tissue management.
Putting too much stretch on your tape not only can cause the tape to peel quickly, but overcorrecting may increase discomfort.
When it comes to taping, don’t guess. Ensure you’re properly instructed by a physical therapist or another provider with taping experience.
Minimize overlapping pieces of tape
While some techniques involve placing tape over another piece of tape, the tape sticks best to skin.
Try to minimize overlapping pieces and apply tape to skin as much as possible.
Rub the tape to activate the adhesive
For most brands of kinesiology tape, rubbing for 10 seconds or so after application helps activate the adhesive.
If applying tape for sports, apply at least an hour ahead of time to help the tape adhere to the skin before you start sweating.
Caring for your tape
Here are a few tips to keep in mind while wearing kinesiology tape.
Observe for signs of skin irritation
Redness, irritation, itching, or blistering may indicate a skin reaction to either the tape or adhesive spray.
If you notice signs of irritation, carefully remove the tape and clean the area. Do not apply new tape to irritated skin.
Allow your tape to air dry after it gets wet
Most kinesiology tapes are waterproof, meaning they’re able to stay on through showering or swimming.
If your tape gets wet, allow it to air dry, and never attempt to speed up the process with a blow dryer.
Trim off small edges that begin to lift
Over time, some outer edges of the tape may begin to lift. You can’t stick these back down, so carefully trim the excess tape away with scissors and keep the remaining tape intact.
Tips for removing kinesiology tape without pain
Tape should never be ripped off quickly. In fact, you could end up tearing some skin because of the strength of the adhesive.
To safely remove the tape, use baby oil or olive oil over the tape to dissolve the adhesive. Tape dehesive spray is also a good option. Wait a few minutes after application of the oil or dehesive to work, and then carefully remove the tape.
You can clean the area and immediately apply new tape if the skin is not irritated. However, if the area is irritated, wait a few days before applying new tape.
How long is kinesiology tape supposed to last?
Most major brands claim that kinesiology tape can stay on for up to 5 days. This may not be the case if the skin is very oily or exposed to a lot of water.
I find that 2-3 days is the most realistic in the real world. This will vary based on where the tape is, how much it was exposed to water, sweat, etc.
As long as the skin isn’t irritated, you can clean and re-apply new tape right away.
Wrapping Up
Taping may seem easy, but it can be quite tricky. If you’re not sure how or why to use kinesiology tape, consult a physical therapist trained in taping.
The correct kinesiology tape application will help your tape to last longer and be more effective.
Happy taping!
References
Andrýsková A, Lee JH. The Guidelines for Application of Kinesiology Tape for Prevention and Treatment of Sports Injuries. Healthcare (Basel). 2020 May 26;8(2):144. doi: 10.3390/healthcare8020144. PMID: 32466467; PMCID: PMC7349891.
Wilson V, Douris P, Fukuroku T, Kuzniewski M, Dias J, Figueiredo P. THE IMMEDIATE AND LONG-TERM EFFECTS OF KINESIOTAPE® ON BALANCE AND FUNCTIONAL PERFORMANCE. Int J Sports Phys Ther. 2016 Apr;11(2):247-53. PMID: 27104058; PMCID: PMC4827367.